Dark Light
-32%
, , , ,

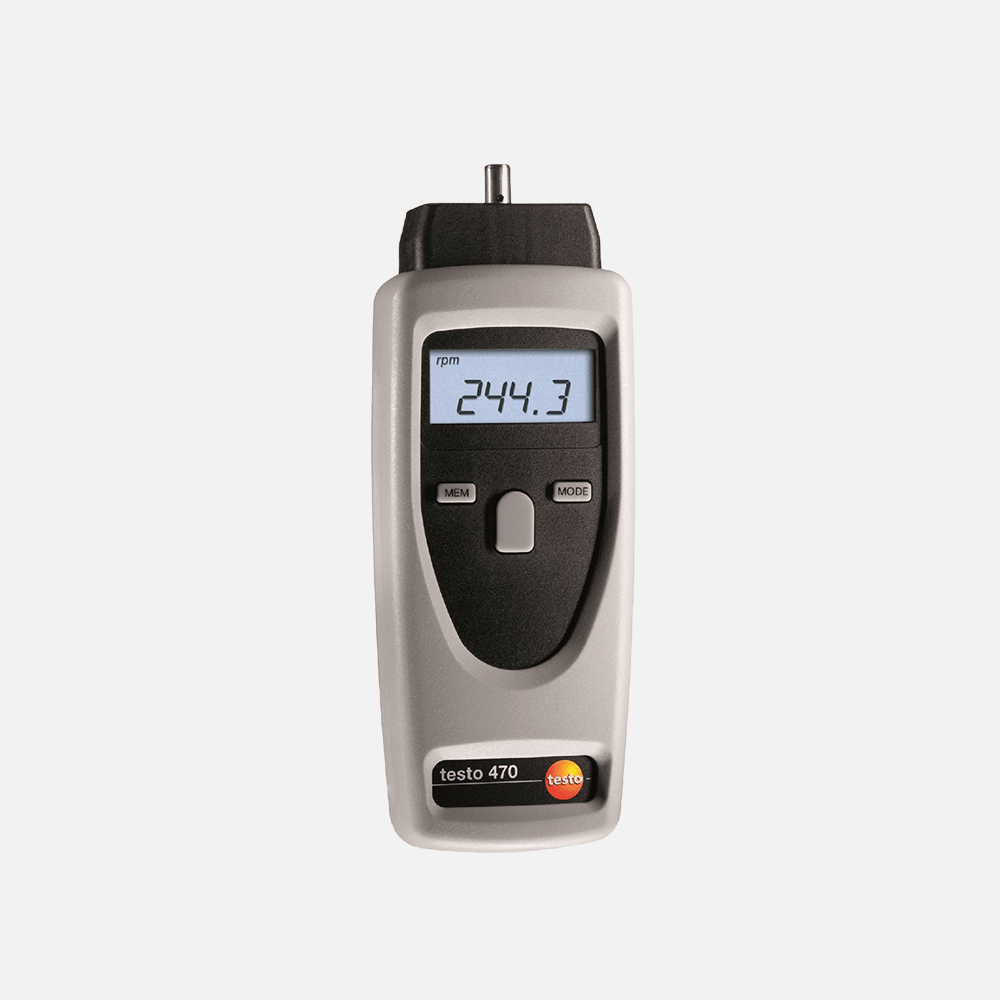
Testo 470 – Digital Tachometer.

Availability:

10 in stock


  • Simple one-hand operation
  • Measurement of rpm, speeds and lengths
  • Storage of mean, max. and min. values as well as the last reading 
  • Includes accessories such as reflective markers, protective case and transport case

21,999.00  32,199.00 

10 in stock

*

Product Description

Do you need to measure the rpm of rotating objects or record the length and speed of conveyor belts and rotors? The testo 470 RPM measuring instrument is a compact tool that makes it possible to carry out these measurements.

Multiple functions in one digital tachometer

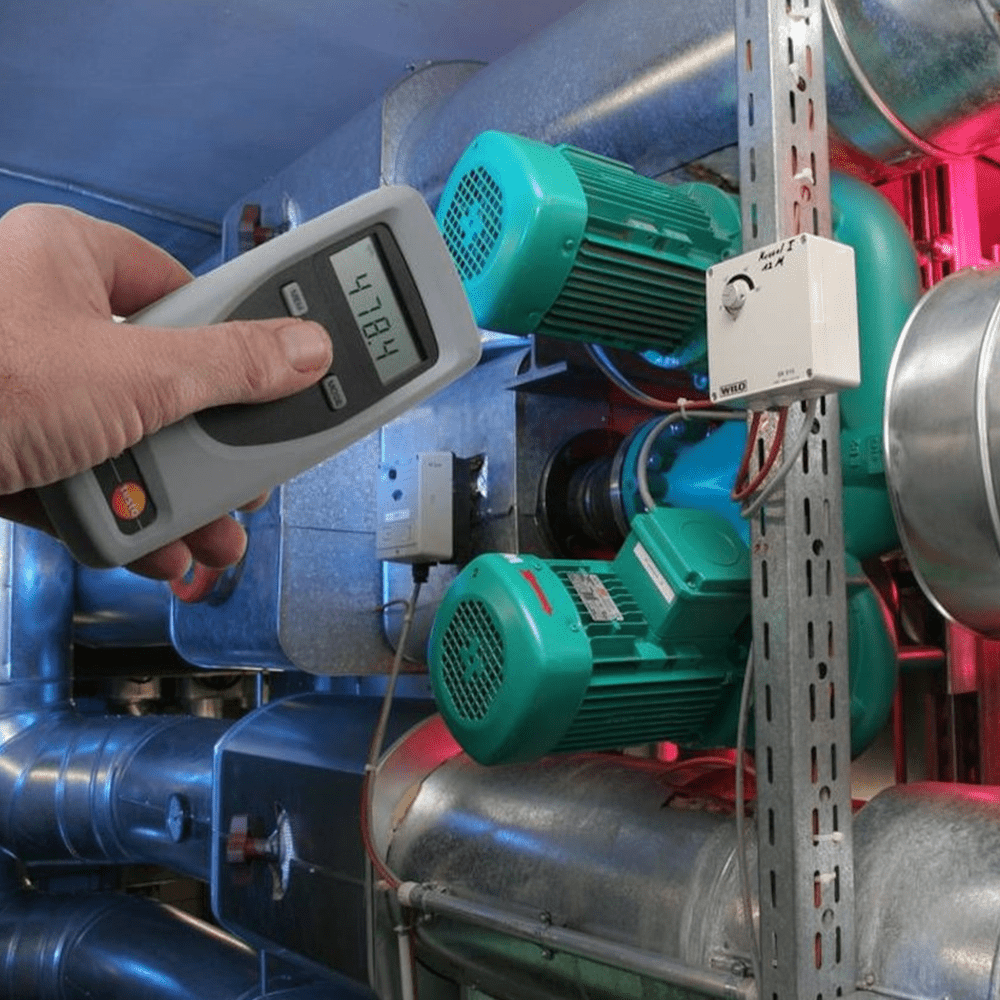
In the case of optical rpm measurement, you can use the testo 470 RPM measuring instrument to record how fast a rotating object rotates. Thus, for example, you can check whether motors, shafts and fans are functioning correctly in order to spot any impending defects due to overload at an early stage.

For rpm measurement, simply stick a reflective marker on the measurement object and aim the visible red beam at the reflective marker. The measurement can then start (at a distance of up to 600 mm between digital tachometer and measurement object). The digital tachometer is easy to operate using one hand.

However, the testo 470 RPM measuring instrument not only provides the functions of an optical tachometer, it also functions as a mechanical tachometer: Attach the adapter for the probe tip and measure the rpm mechanically. Attach the wheel to also measure speeds and lengths of rotors/conveyor belts.

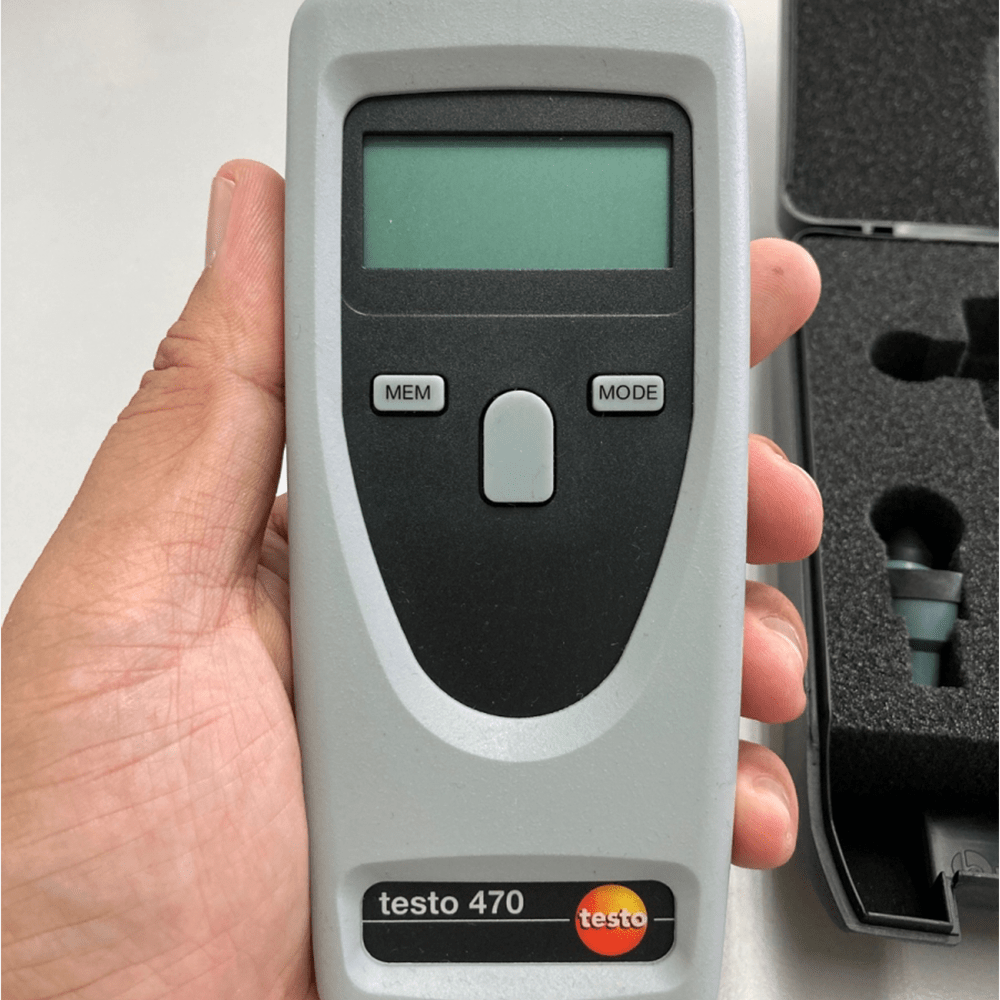
You get the testo 470 digital tachometer in a transport case with practical accessories (reflective markers, softcase, etc.).

Technical data

rpm - Optical

Measuring range

1 to 99999 rpm

Accuracy

±0.02 % of mv

Resolution

0.01 rpm (1 to 99.99 rpm)
0.1 rpm (100 to 999.9 rpm)
1 rpm (1000 to 99999 rpm)

rpm - Mechanical

Measuring range

0.1 to 19999 rpm

Accuracy

±0.2 % of mv

General technical data

Display type

LCD

Display size

one-line

Display function

5 digit LCD display

Applications

Estimating wood’s moisture content: 

The amount of moisture in stored timber products will determine how they are used and processed going forward. When wood is installed with the incorrect moisture content, mechanical deformations (contracting and swelling) can occur at the location where the material is later employed, which can lead to damage to individual furniture pieces or entire supporting systems in buildings. Therefore, the appropriateness of the wood must be evaluated by measuring the moisture content before being manufactured into furniture or used as a supporting material by a craftsman.
A routine task for chimney sweeps and flue gas inspectors is to check the moisture content of fuels, such as firewood. A fuel with a high moisture content wastes resources and loses energy. All Testo wood and construction moisture measuring equipment calculates the amount of moisture in the material as a percentage of the dry mass (dry weight).
Other options for measuring resistance include using the material’s electrical conductivity or the magnetic flux leakage method, which gauges resistance using the electrical field within the material.
The testo 606-1 is a portable, highly useful tool for testing the moisture content of materials. Through the use of stored material characteristic curves for wood, the material moisture is directly presented in percentage weight. For assessing wood moisture in beech, fir, larch, oak, pine, and maple wood, characteristic curves are available. Five additional features are saved in the instrument. Two electrodes that have been driven into the material are used by the measuring device to take readings. The testo 606-2 detects ambient temperature and humidity in addition to material wetness. In this approach, it is possible to swiftly and accurately evaluate the conditions of drying on the spot.

Downloads

Datasheet : Testo 470 – Digital Tachometer.

Instruction Manual : Testo 470 – Digital Tachometer.

Delivery Scope

Testo 470 digital tachometer with softcase, reflective markers, adapter, probe tip, wheels 0.1 m and 6″, batteries, transport case and calibration protocol.